In this tutorial, I will show how to integrate paypal payment method with Laravel. You will have to create a developer account for this. Remember that, I will also create a sandbox account later using the developer account. Sandbox account is not a real account. It is just a testing account. If everything works well in sandbox, then it will work perfectly in the live account.
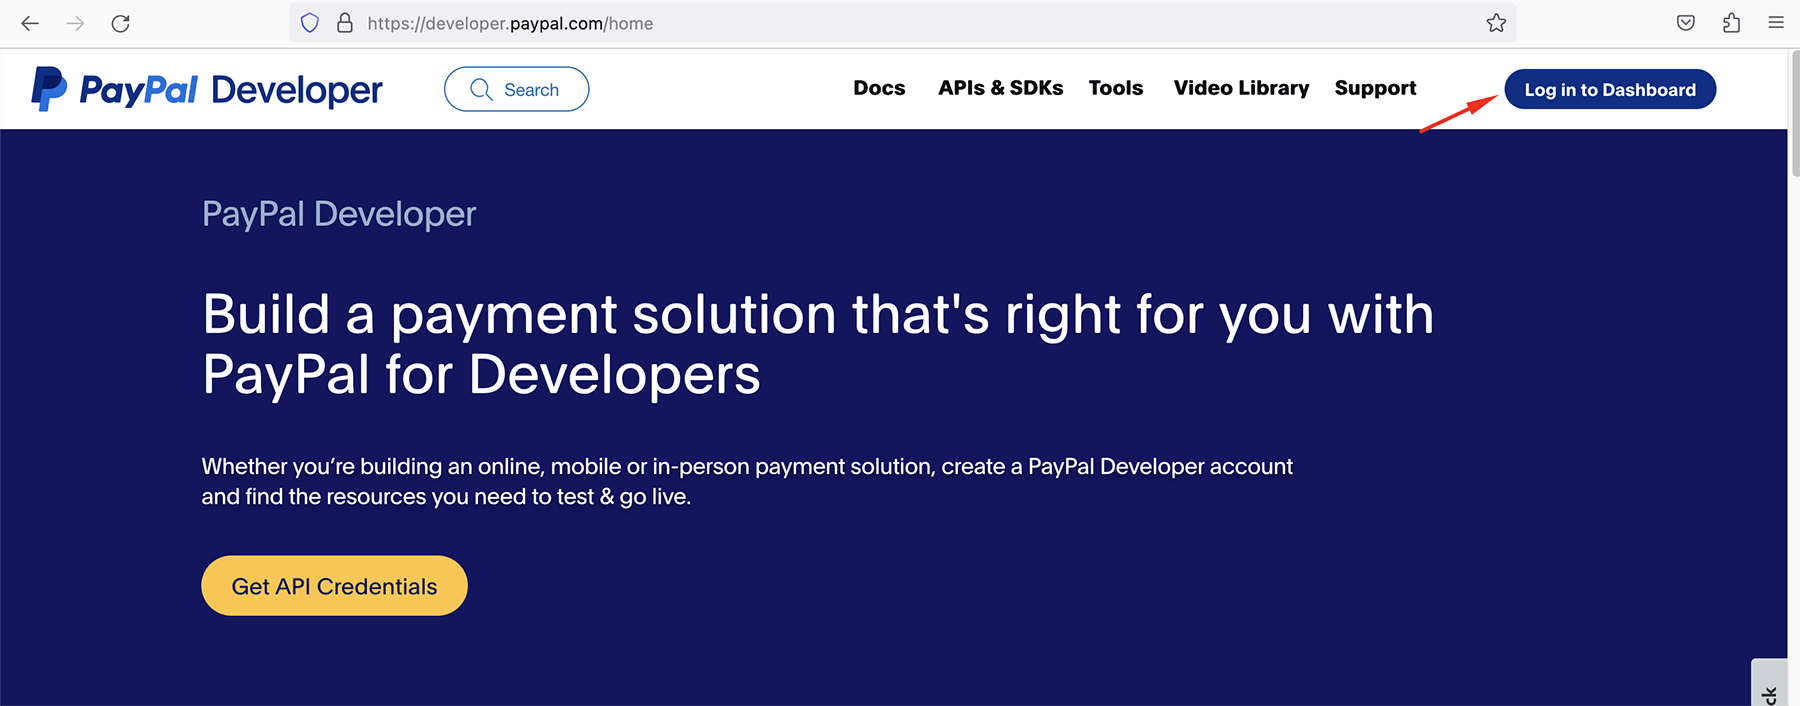
In order to create this account, visit this link:
In order to create this account, visit this link:
Now from the top right corner, click on the button "Log in to Dashboard".
Creating Developer Account
In order to create a developer account, click on the "Sign Up" button and then just create a new account with your country, email and password. You can put any country or email here. Even you can give here a fake or dummy email address.
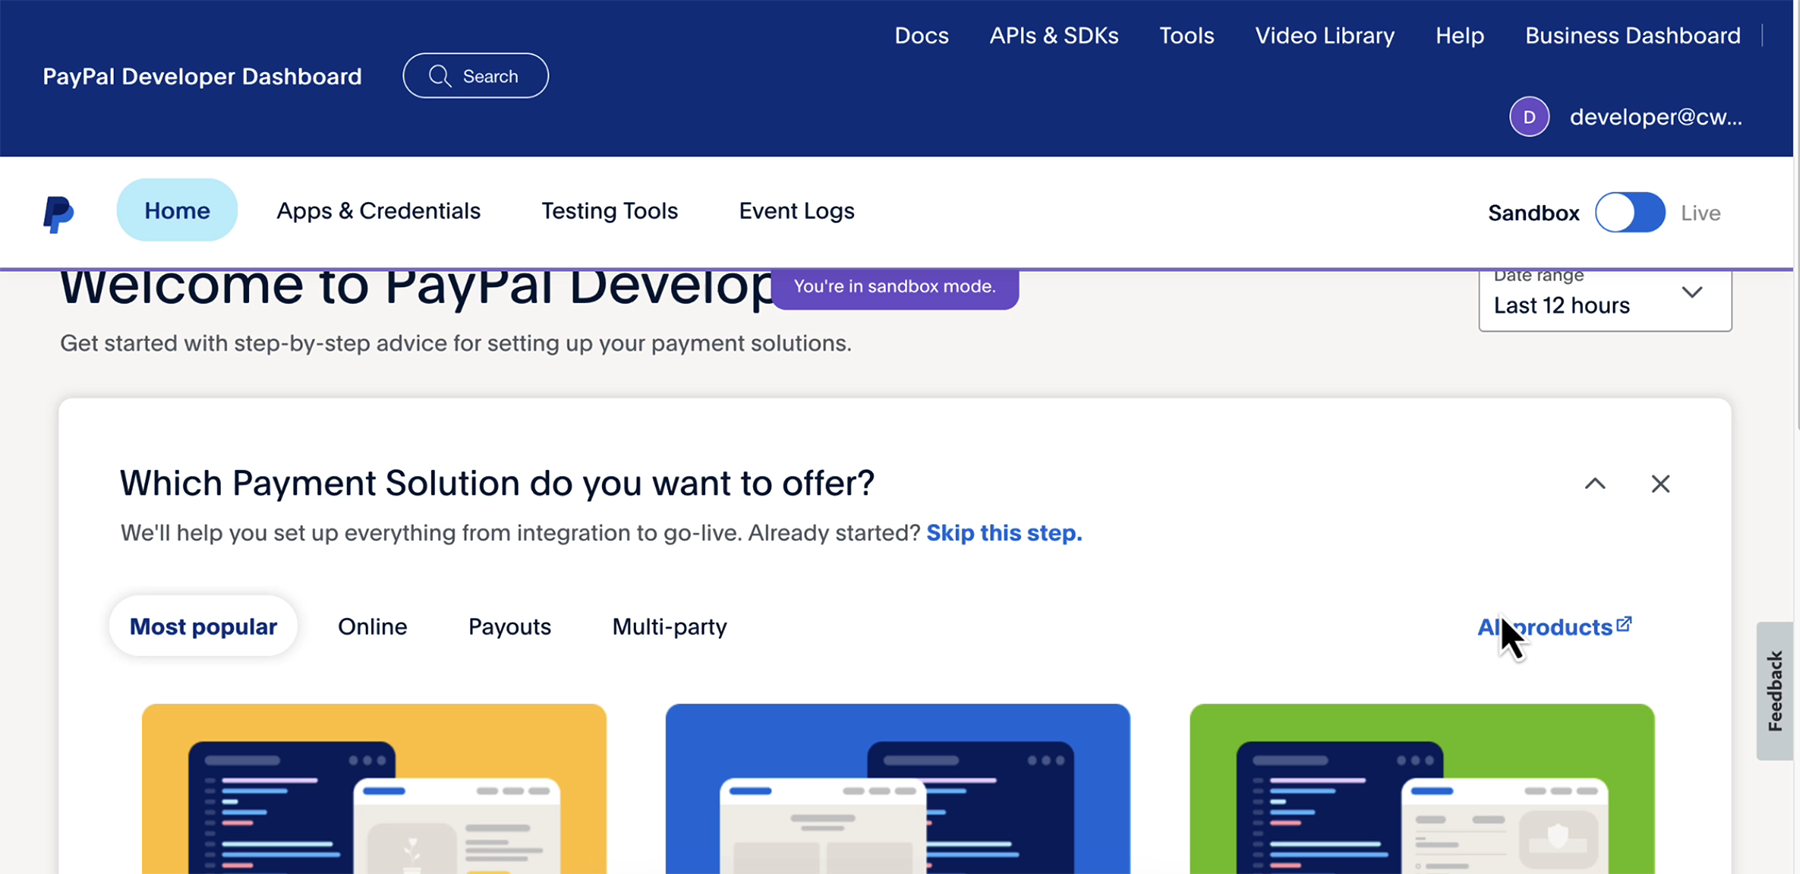
After creating the account, you will be immediately logged in and you will get a page like this:
After creating the account, you will be immediately logged in and you will get a page like this:
Creating Sandbox Accounts
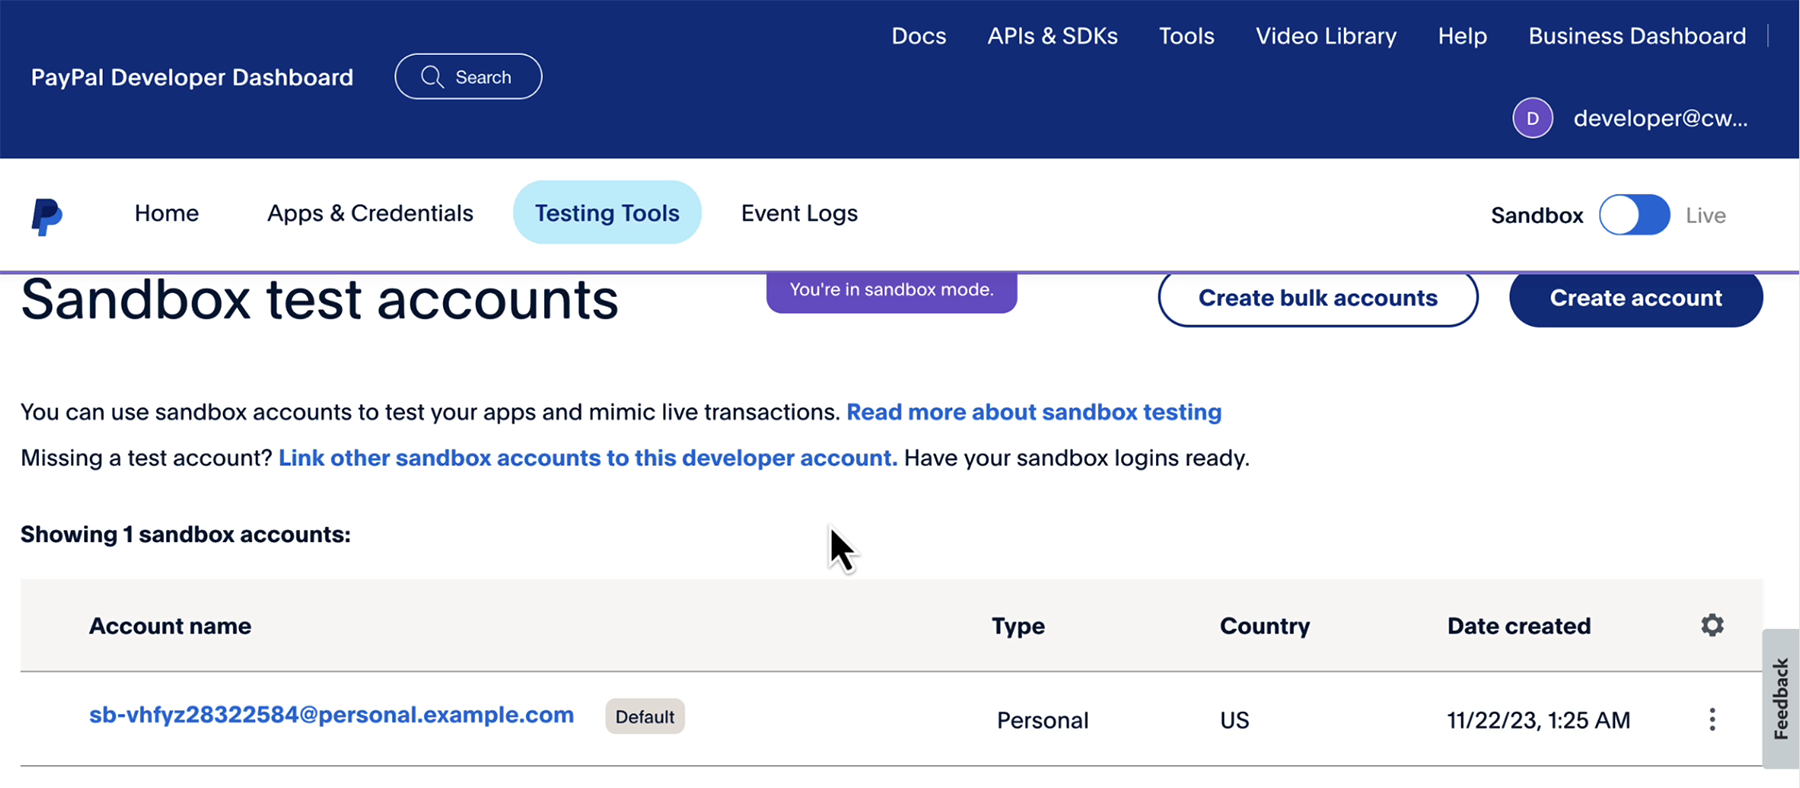
Click on the "Sandbox accounts" link from the Dashboard. See this:

Remember that, you will need to have 2 sandbox accounts. One will be business account and another one will be personal account. The personal account is already setup by default. But if you want you can create a new personal account. You must have to create a new business account here.
See here that a personal account is already given:
See here that a personal account is already given:
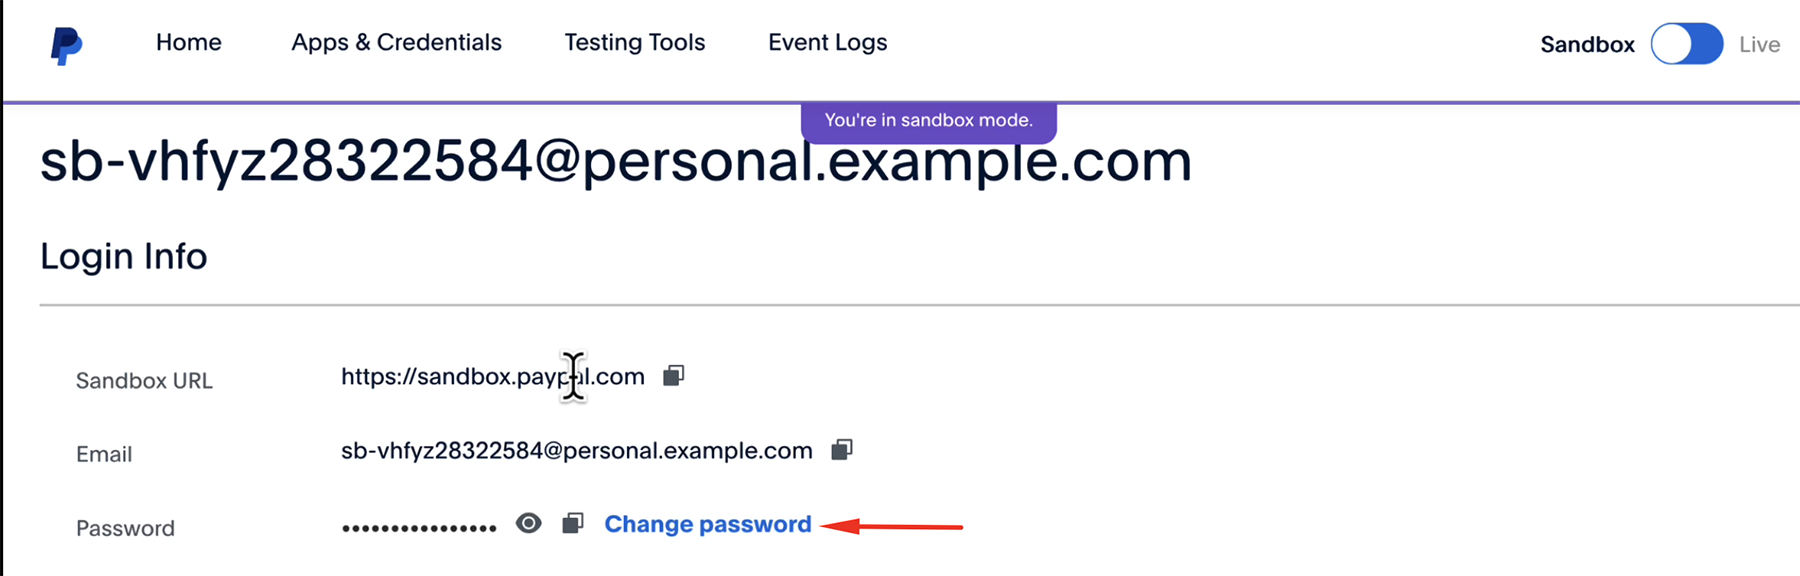
Now you can change the password, name or balance for your personal account. Click on the three dots in the right side.
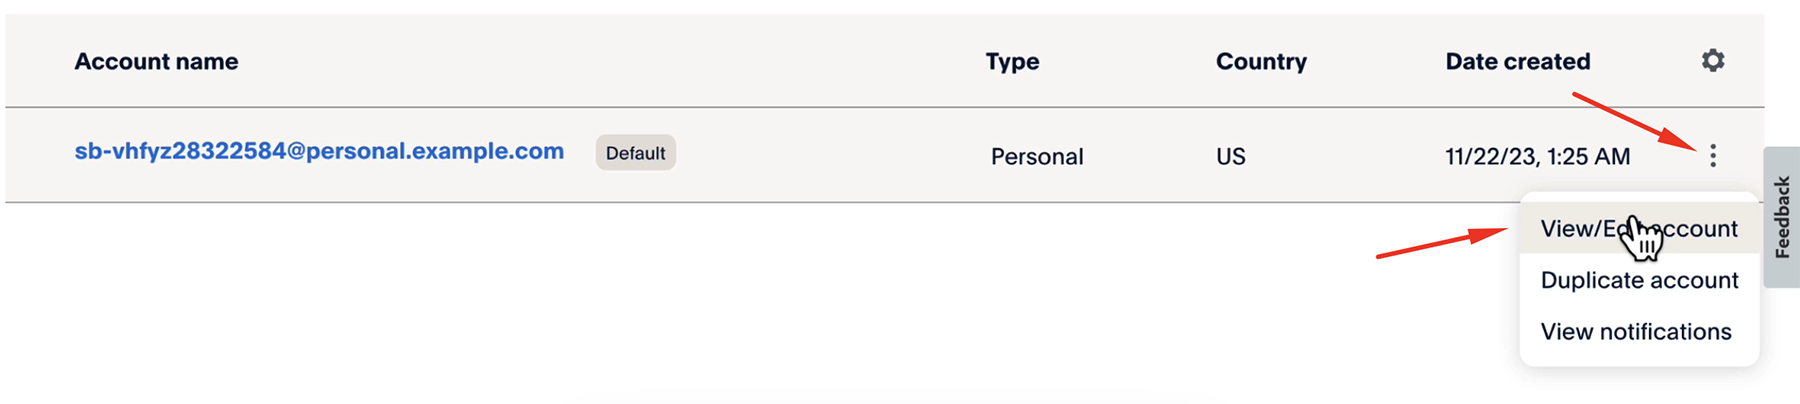
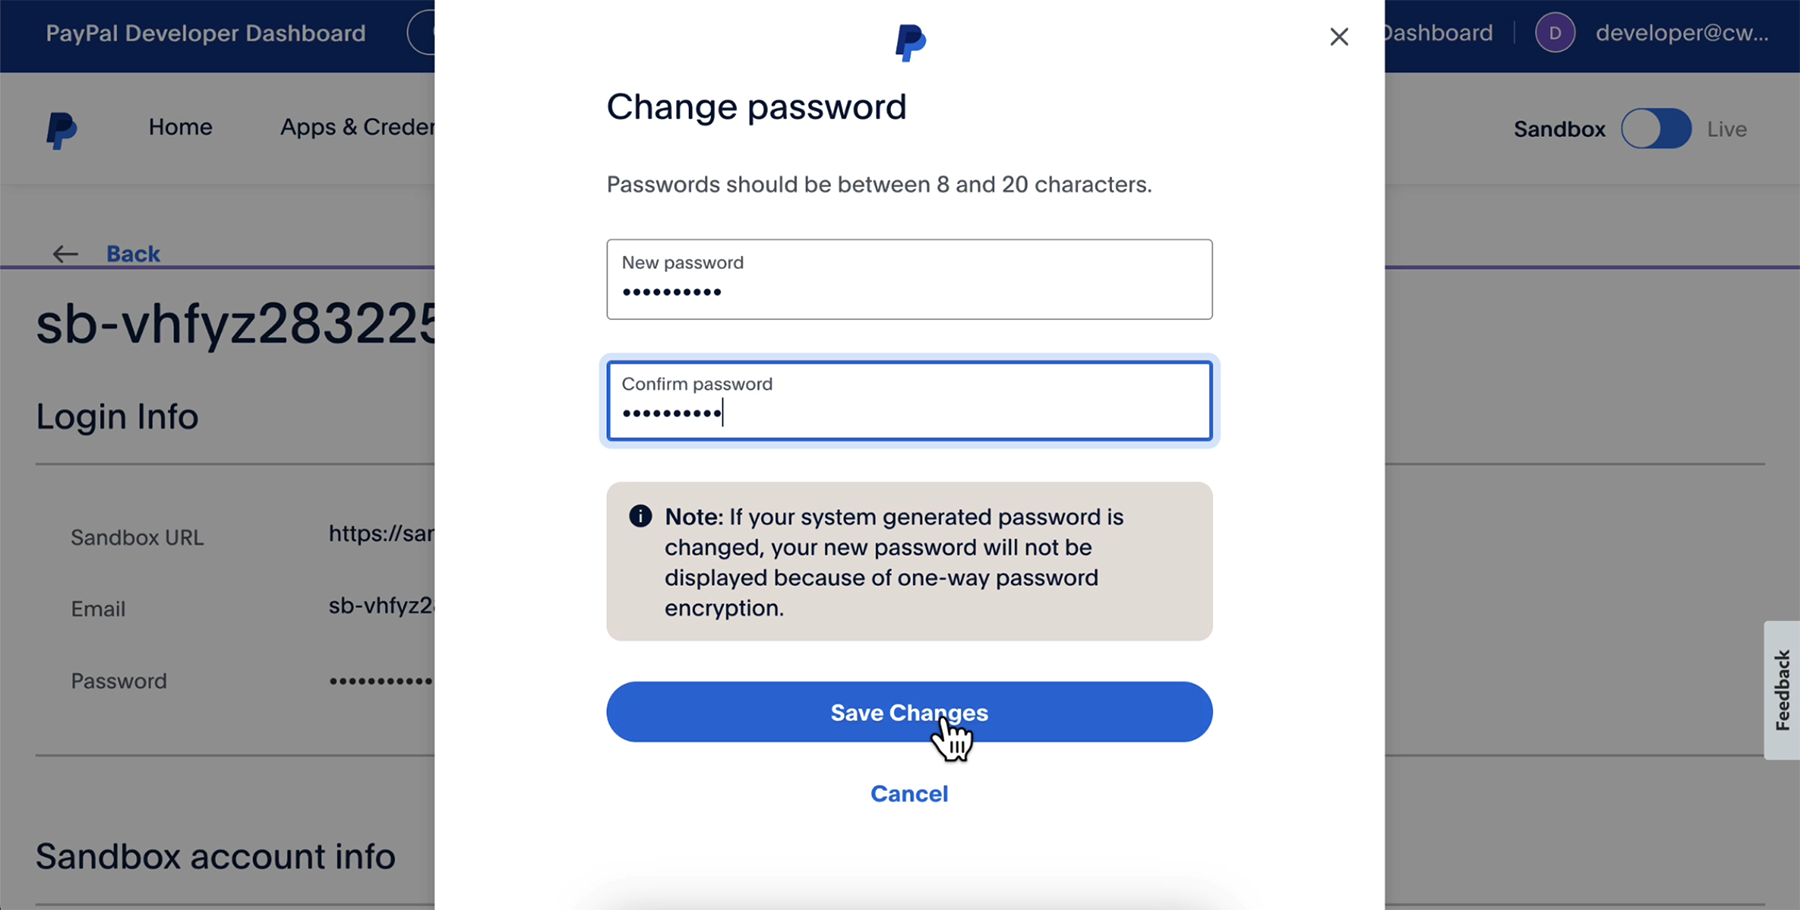
Click on the "Change password" link to change your password.
Now go back to sandbox page and click on the "Create Account" button from top right side. You have to create a business sandbox account now.
A popup will come now. Just select "Business" from there and click on "Create Account" button.
See this photo:
A popup will come now. Just select "Business" from there and click on "Create Account" button.
See this photo:

Then, you will be taken to the sandbox page. You will see total 2 accounts there. See this:
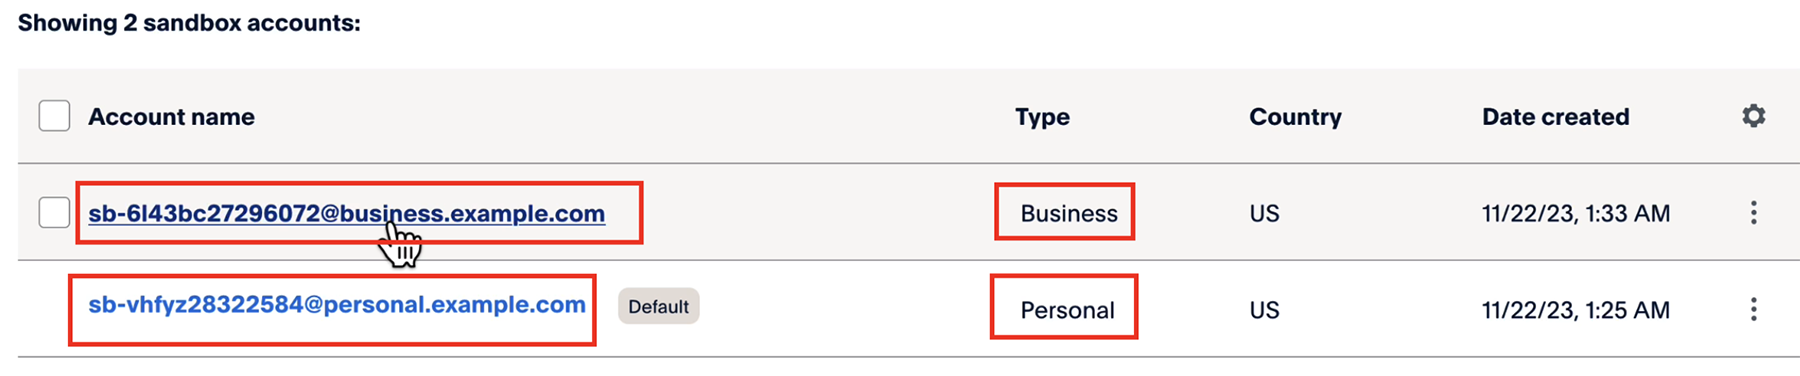
You can follow the same procedure like before and click on the right side three dots and edit information. You can change the password, name or balance for the business account.
Create Rest API Apps
In order to create rest API apps, go to the list of sandbox accounts. Click on the rightside dots of the business account and edit information.
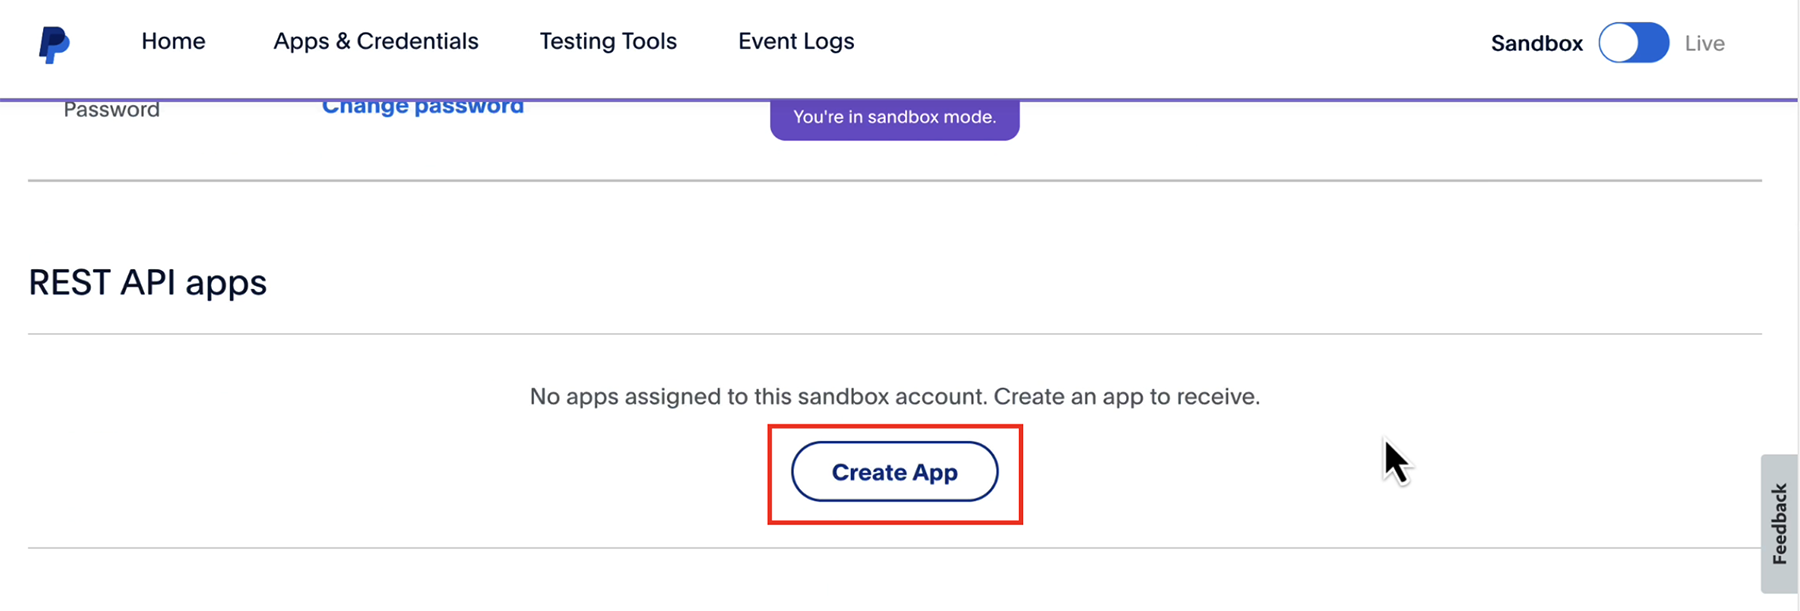
Then in the edit page, you will get a section to create the app.
See here:
Then in the edit page, you will get a section to create the app.
See here:
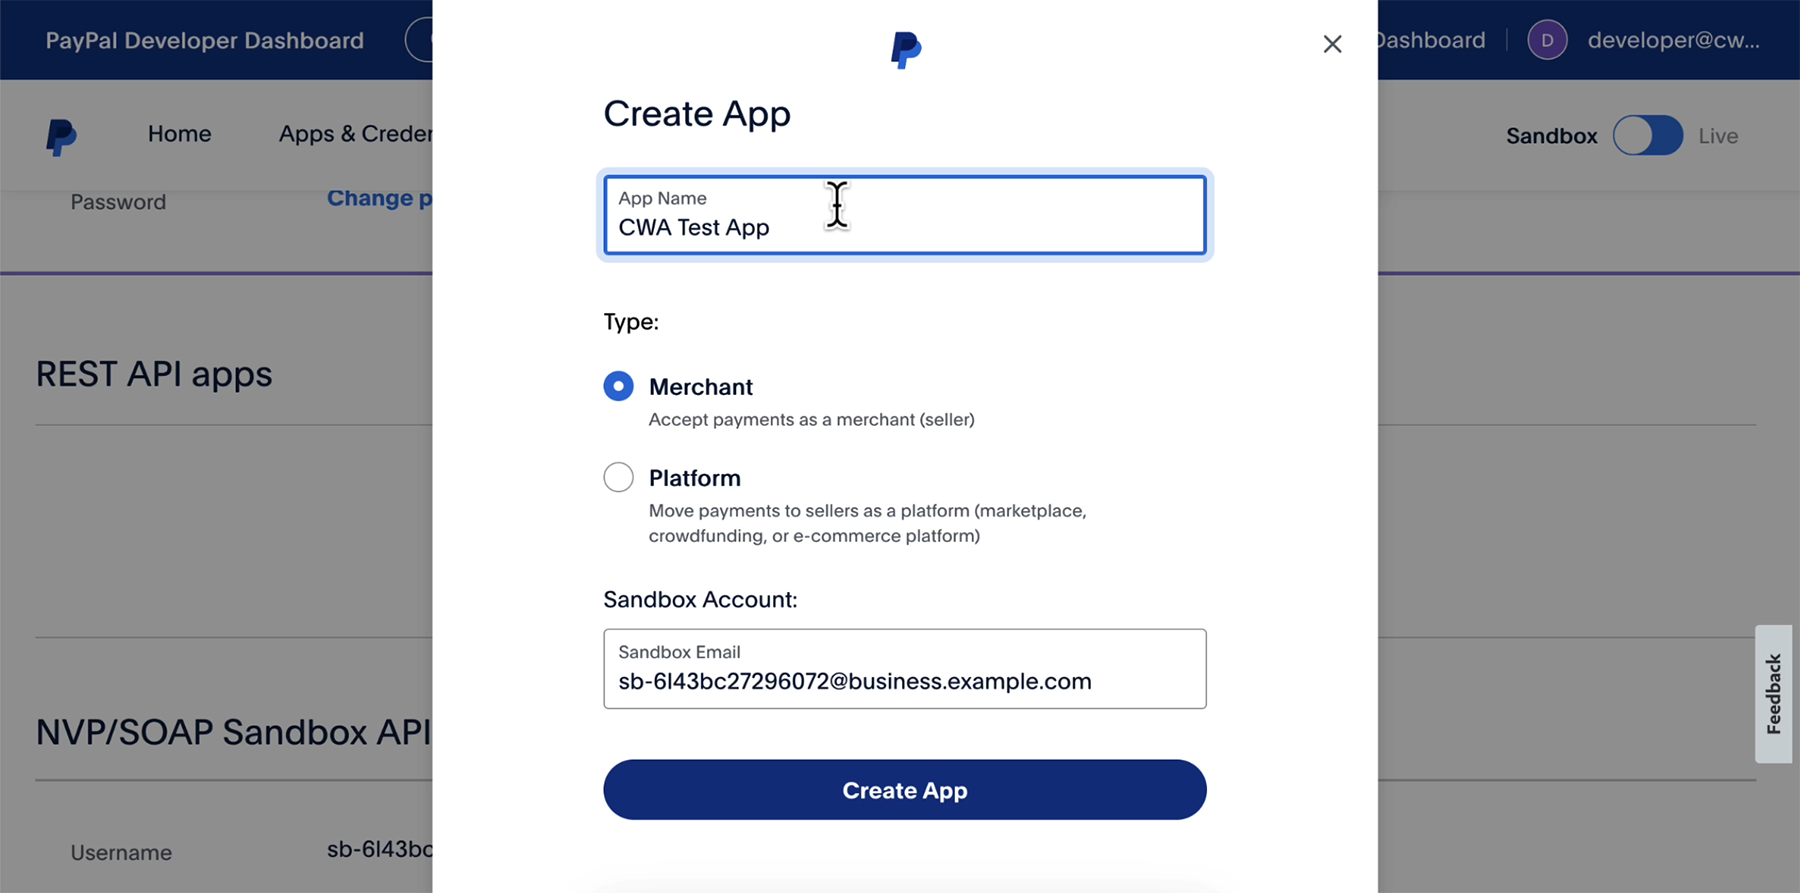
A popup will come and you can give there the app name. The "Merchant" is selected by default. Do not change that. Sandbox business account is automatically selected. Just click on the "Create App" button. See here:
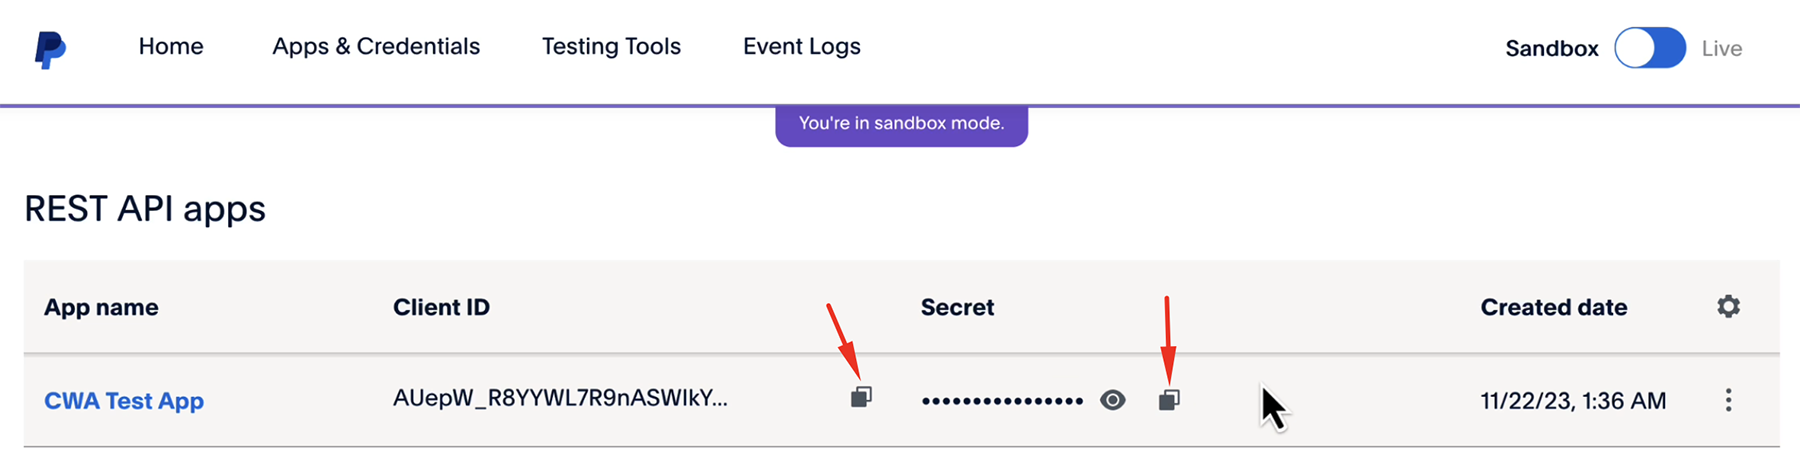
You will be able to see the "Client Id" and "Secret" from here. There are two copy icons besides each of those. Just you can click to copy into the clipboard. See:
So I have all the necessary information in my hand now. Those are:
Developer Account Email: developer@cwa.com
Personal Sandbox Account Email: sb-vhfyz28322584@personal.example.com
Business Sandbox Account Email: sb-6l43bc27296072@business.example.com
Client Id: AUepW_R8YYWL7R9nASWIkYSvoLg_3KzYFeb-tt0KMWuWOBwX_JmYlMGKMWbsg_bhPIB2CoNNy5AGk1dm
Secret: EFuwGqxMAPpSMCoxkmo6-WWnt02EjZFNtdN39Z9Ay-rmruF2gR2MmCPdQn1Rk1fH5z93yd96fB5hqP6sSee Full Tutorial on YouTube
If you want to see the full functionality in live, you can see my videos in youtube.